How do you Prepare for Painting the Interior of a House?
Preparing to paint the interior of a house is a crucial step to ensure a smooth and successful interior house painting project. Proper preparation not only enhances the final result but also helps the paint adhere better and last longer.
Comprehensive Guide to Preparing for Interior Painting:
1. Clear the Space:
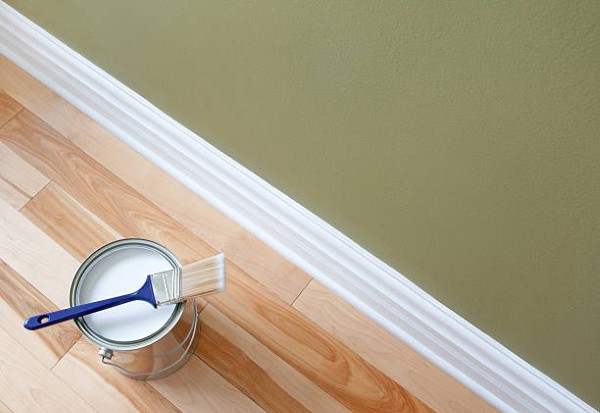
Before you start any preparations, remove furniture and other items from the room or push them to the center and cover them with plastic sheets. This will protect your belongings from accidental paint splatters.
2. Clean the Walls:
Dust and dirt can affect the adhesion of the paint. Clean the walls thoroughly with a mild detergent solution. For stubborn stains, use a mixture of water and trisodium phosphate (TSP). Allow the walls to dry completely before moving on to the next step.
3. Repair Wall Imperfections:
Inspect the walls for any cracks, holes, or imperfections. Patch these areas with a lightweight spackle or joint compound. Once the patching material is dry, sand the walls smooth. This step ensures a seamless and even surface for the paint.
4. Remove or Protect Fixtures and Hardware:
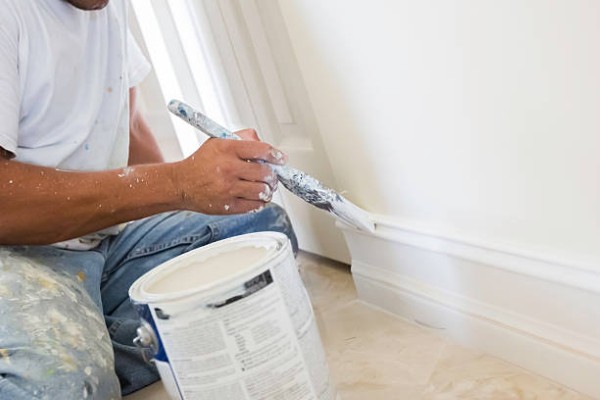
Take down switch plates, outlet covers, and any other fixtures on the walls. Use painter's tape to cover light switches, electrical outlets, and any hardware that can't be removed. This will protect them from paint splatters.
5. Tape and Protect Trim:
Apply painter's tape to edges where the walls meet the ceiling, baseboards, and any trim. This will create clean lines and prevent paint from bleeding onto adjacent surfaces. Use plastic sheets or drop cloths to cover the floor and any remaining furniture.
6. Prime the Walls:
While not always necessary, priming the walls can provide a better surface for the paint to adhere to, especially if you are painting over a dark color or if the walls have stains. Choose a primer that suits the type of surface you are working on, whether it's drywall, plaster, or a previously painted surface.
7. Choose High-Quality Paint:
Invest in good-quality paint. Higher-quality paints are not only more durable but also provide better coverage, saving you time and effort in the long run. Consider the finish as well, whether you want a matte, satin, or semi-gloss sheen.
8. Use the Right Tools:
Select the appropriate brushes and rollers for your project. A good-quality brush and roller can make a significant difference in the final finish. Consider the type of paint you are using when choosing your tools.
9. Ventilate the Room:

Proper ventilation is crucial when painting. Open windows and doors to ensure good airflow. If you're using paints with strong fumes, consider using a respirator mask to protect yourself.
10. Follow a Systematic Painting Order:
Start by cutting in around the edges with a brush, then use a roller to fill in the larger areas. Work from the top down, painting the ceiling first, then the walls, and finally the trim.
11. Allow for Drying Time:
Follow the recommended drying time between coats. Rushing the process can lead to uneven coverage and a less durable finish.
12. Clean Up:
Properly clean your brushes and rollers using the appropriate cleaning agents. Remove painter's tape carefully to avoid peeling off fresh paint.
By following these steps, you'll be well-prepared to paint the interior of your house, resulting in a professional-looking and long-lasting finish.
Replies